Mastering the Minecraft Shield: Protection and Style
In the perilous world of Minecraft, nightfall brings a surge of danger. Zombies growl, skeletons unleash arrows – survival hinges on reliable defense. Enter the shield: a life-saver and a symbol of resilience. This guide details its creation, use, and customization.
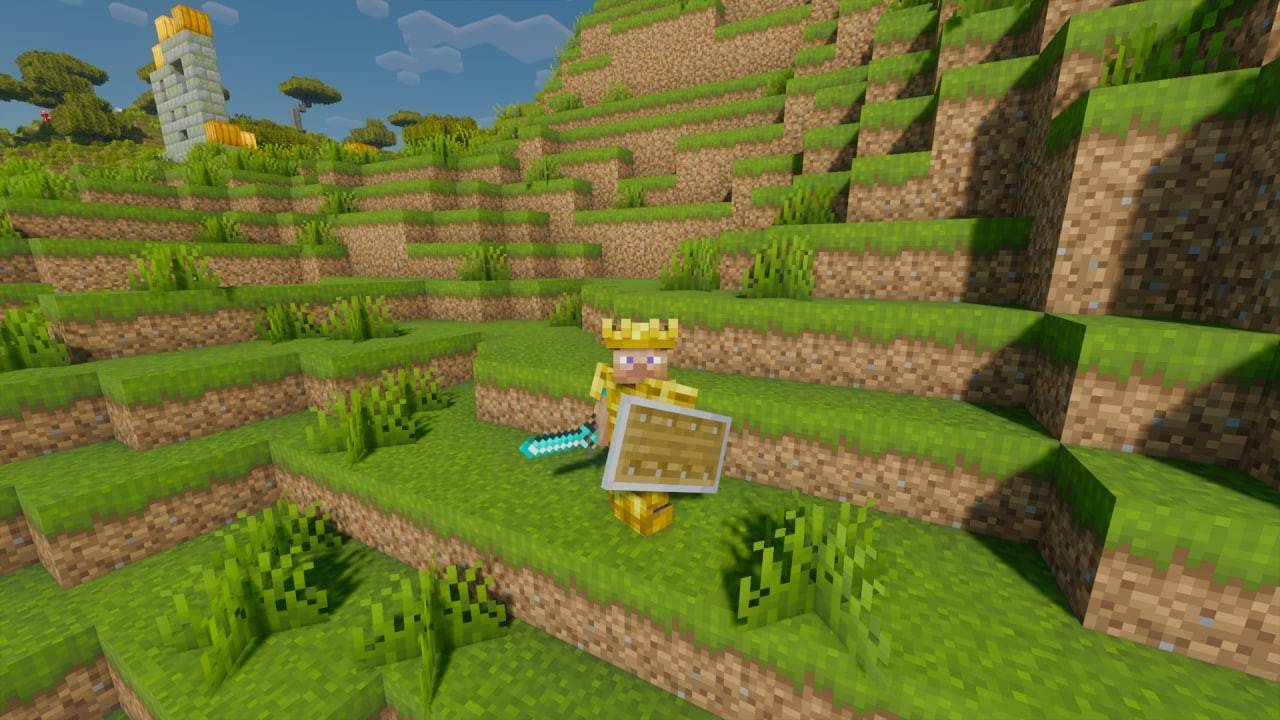 Image: ensigame.com
Crafting Your Shield
Contrary to some players' surprise, the shield isn't always apparent. Its addition was a later development, making its current ease of crafting all the more valuable. You'll need:
- 6 Wooden Planks (easily crafted from logs)
- 1 Iron Ingot (obtained by smelting iron ore)
Arrange the planks in a "Y" shape within the crafting grid, placing the iron ingot in the top-center slot.
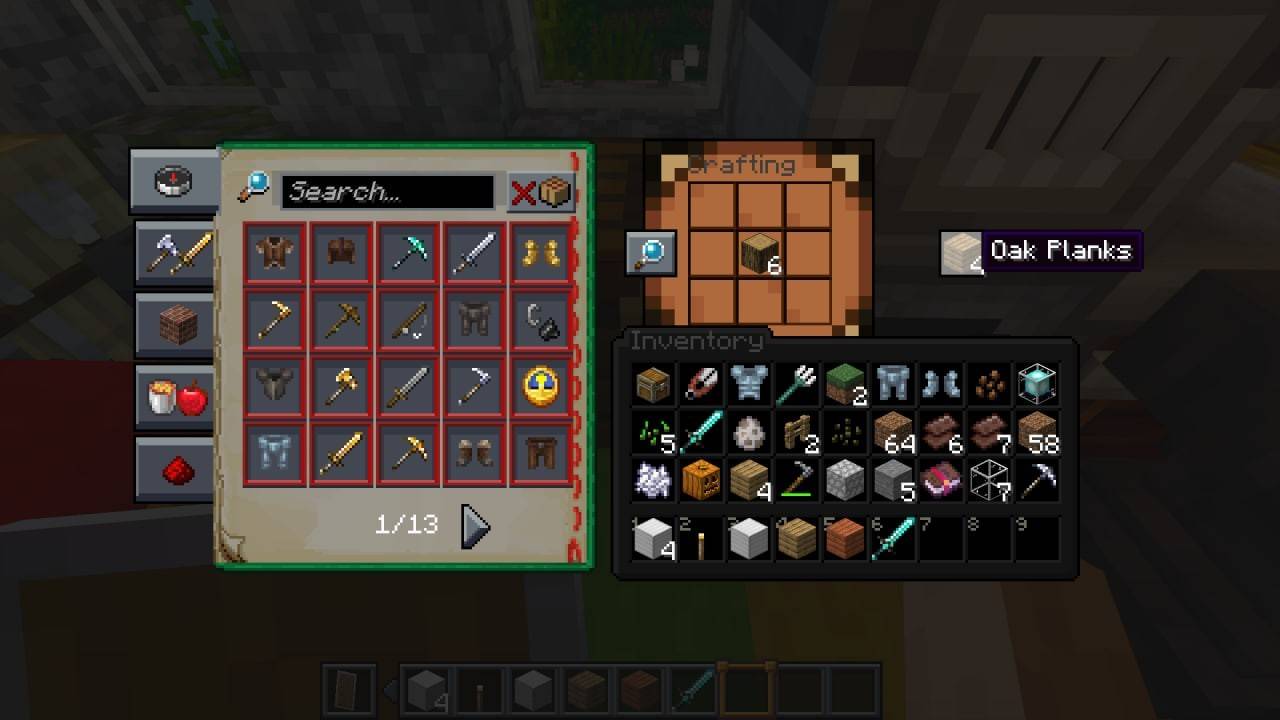 Image: ensigame.com
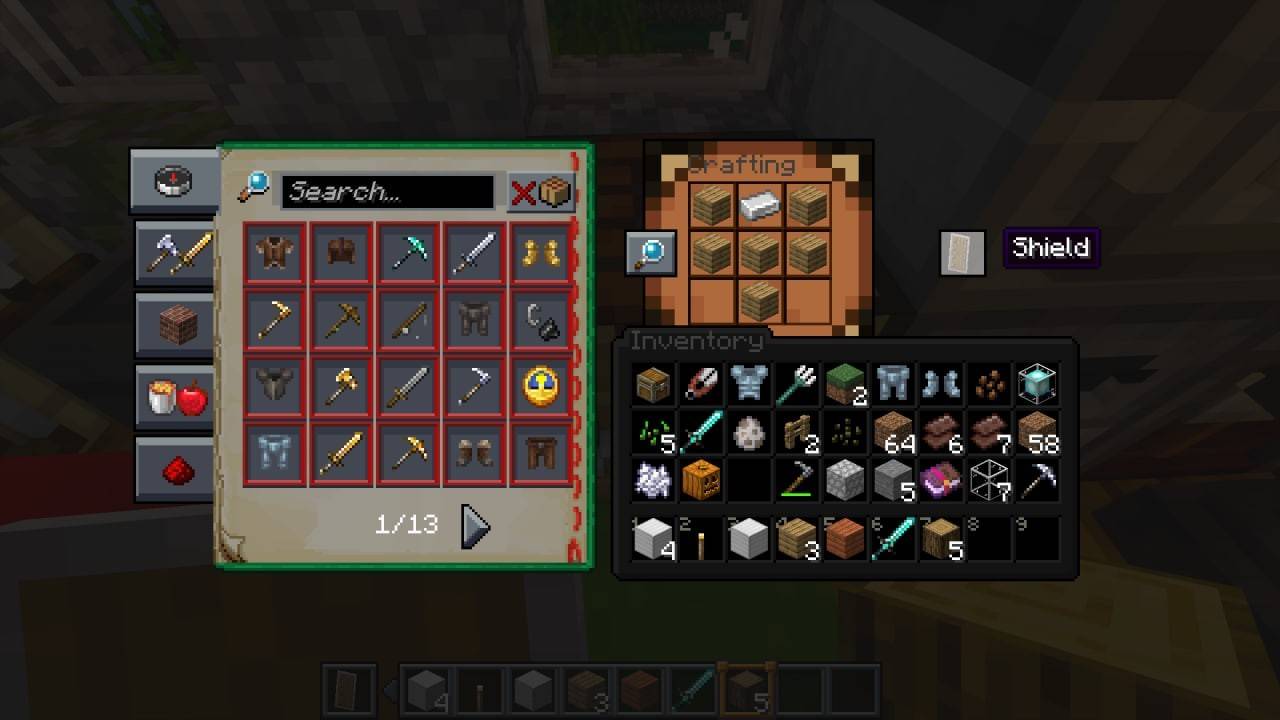 Image: ensigame.com
Locating a Shield
While crafting is straightforward, shields can also be found as loot, often from defeating pillagers. This offers a chance to acquire a pre-decorated shield with a banner.
The Shield's Importance
In combat, a well-timed shield blocks nearly all damage from arrows and melee attacks. Holding down the right mouse button activates its protection. Beyond defense, it adds strategic depth, allowing for counterattacks after a successful block. The "Unbreaking" enchantment significantly extends its lifespan.
Enchantment Choices
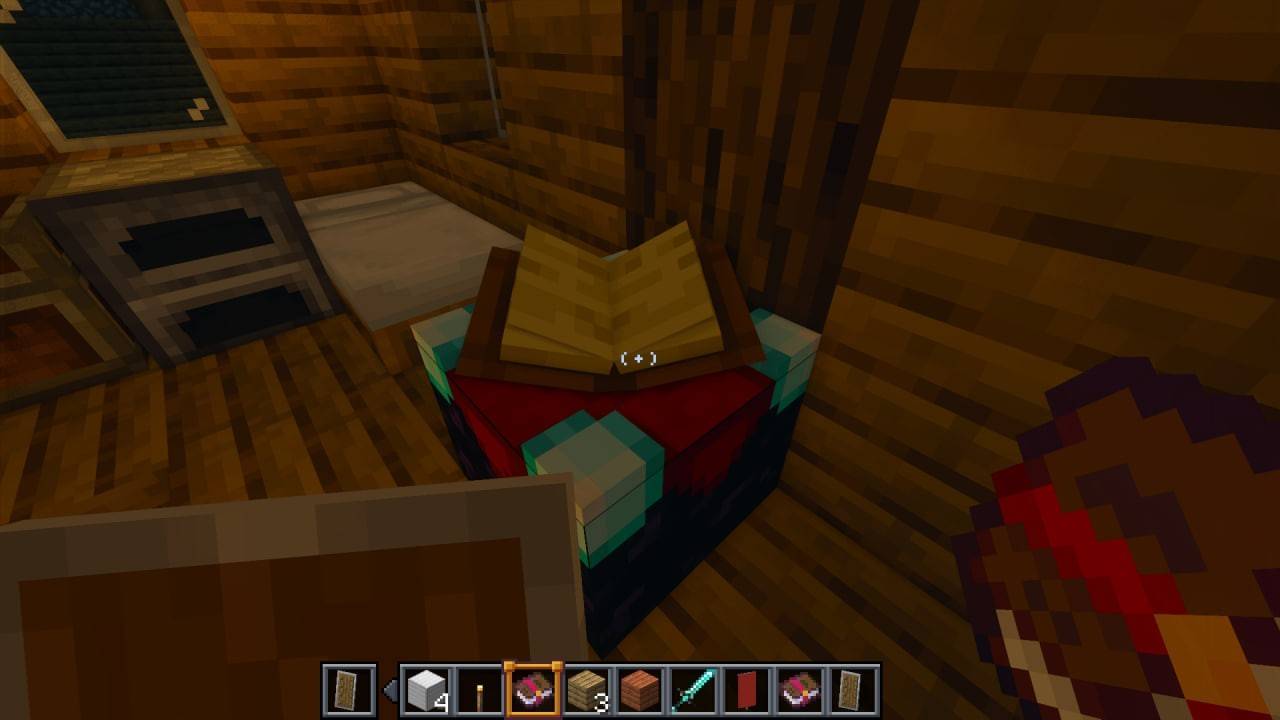 Image: ensigame.com
Prioritize durability. Enchantments boosting damage or experience are ineffective on shields. "Unbreaking" and "Mending" are the ideal choices, maximizing your shield's longevity.
Shield Customization
Beyond its protective function, the shield acts as a canvas for self-expression. Decorate it with banners (crafting instructions available separately). Combine the shield and banner in a crafting table.
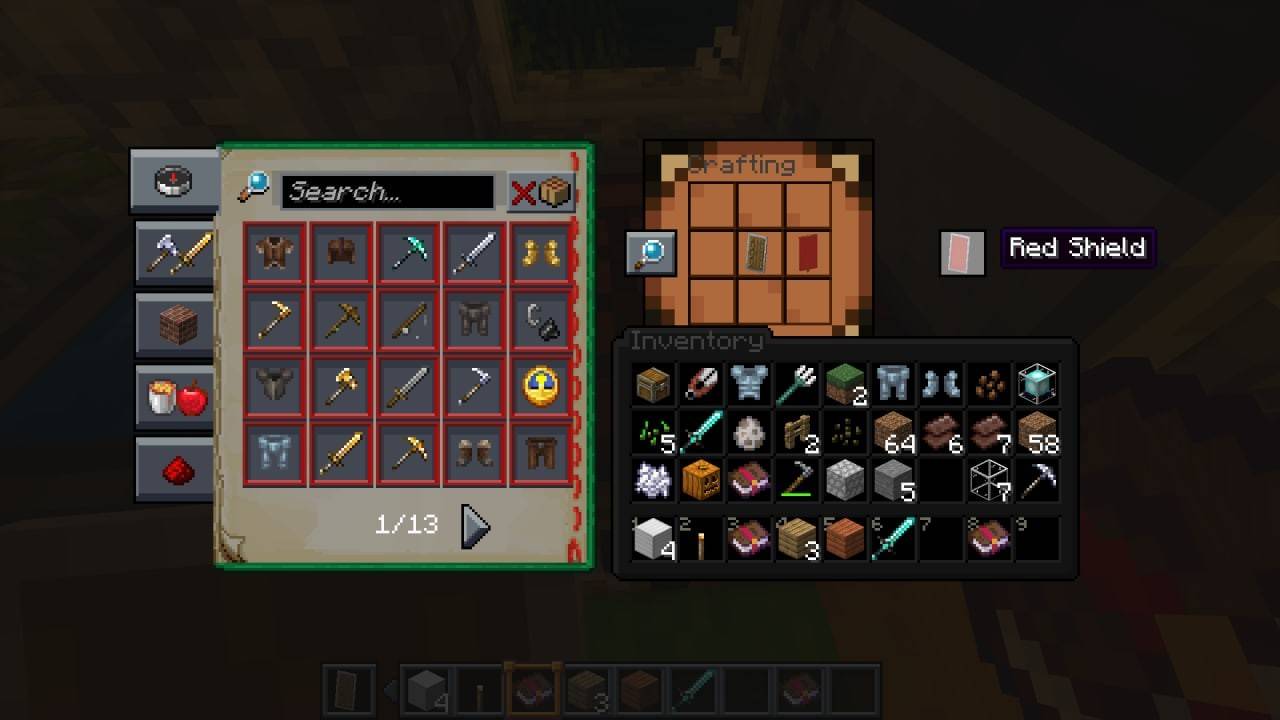 Image: ensigame.com
This allows for unique, personalized shields, perfect for individual players or clans. Each scratch tells a story of battles fought and survived, transforming your shield into a testament to your Minecraft journey.